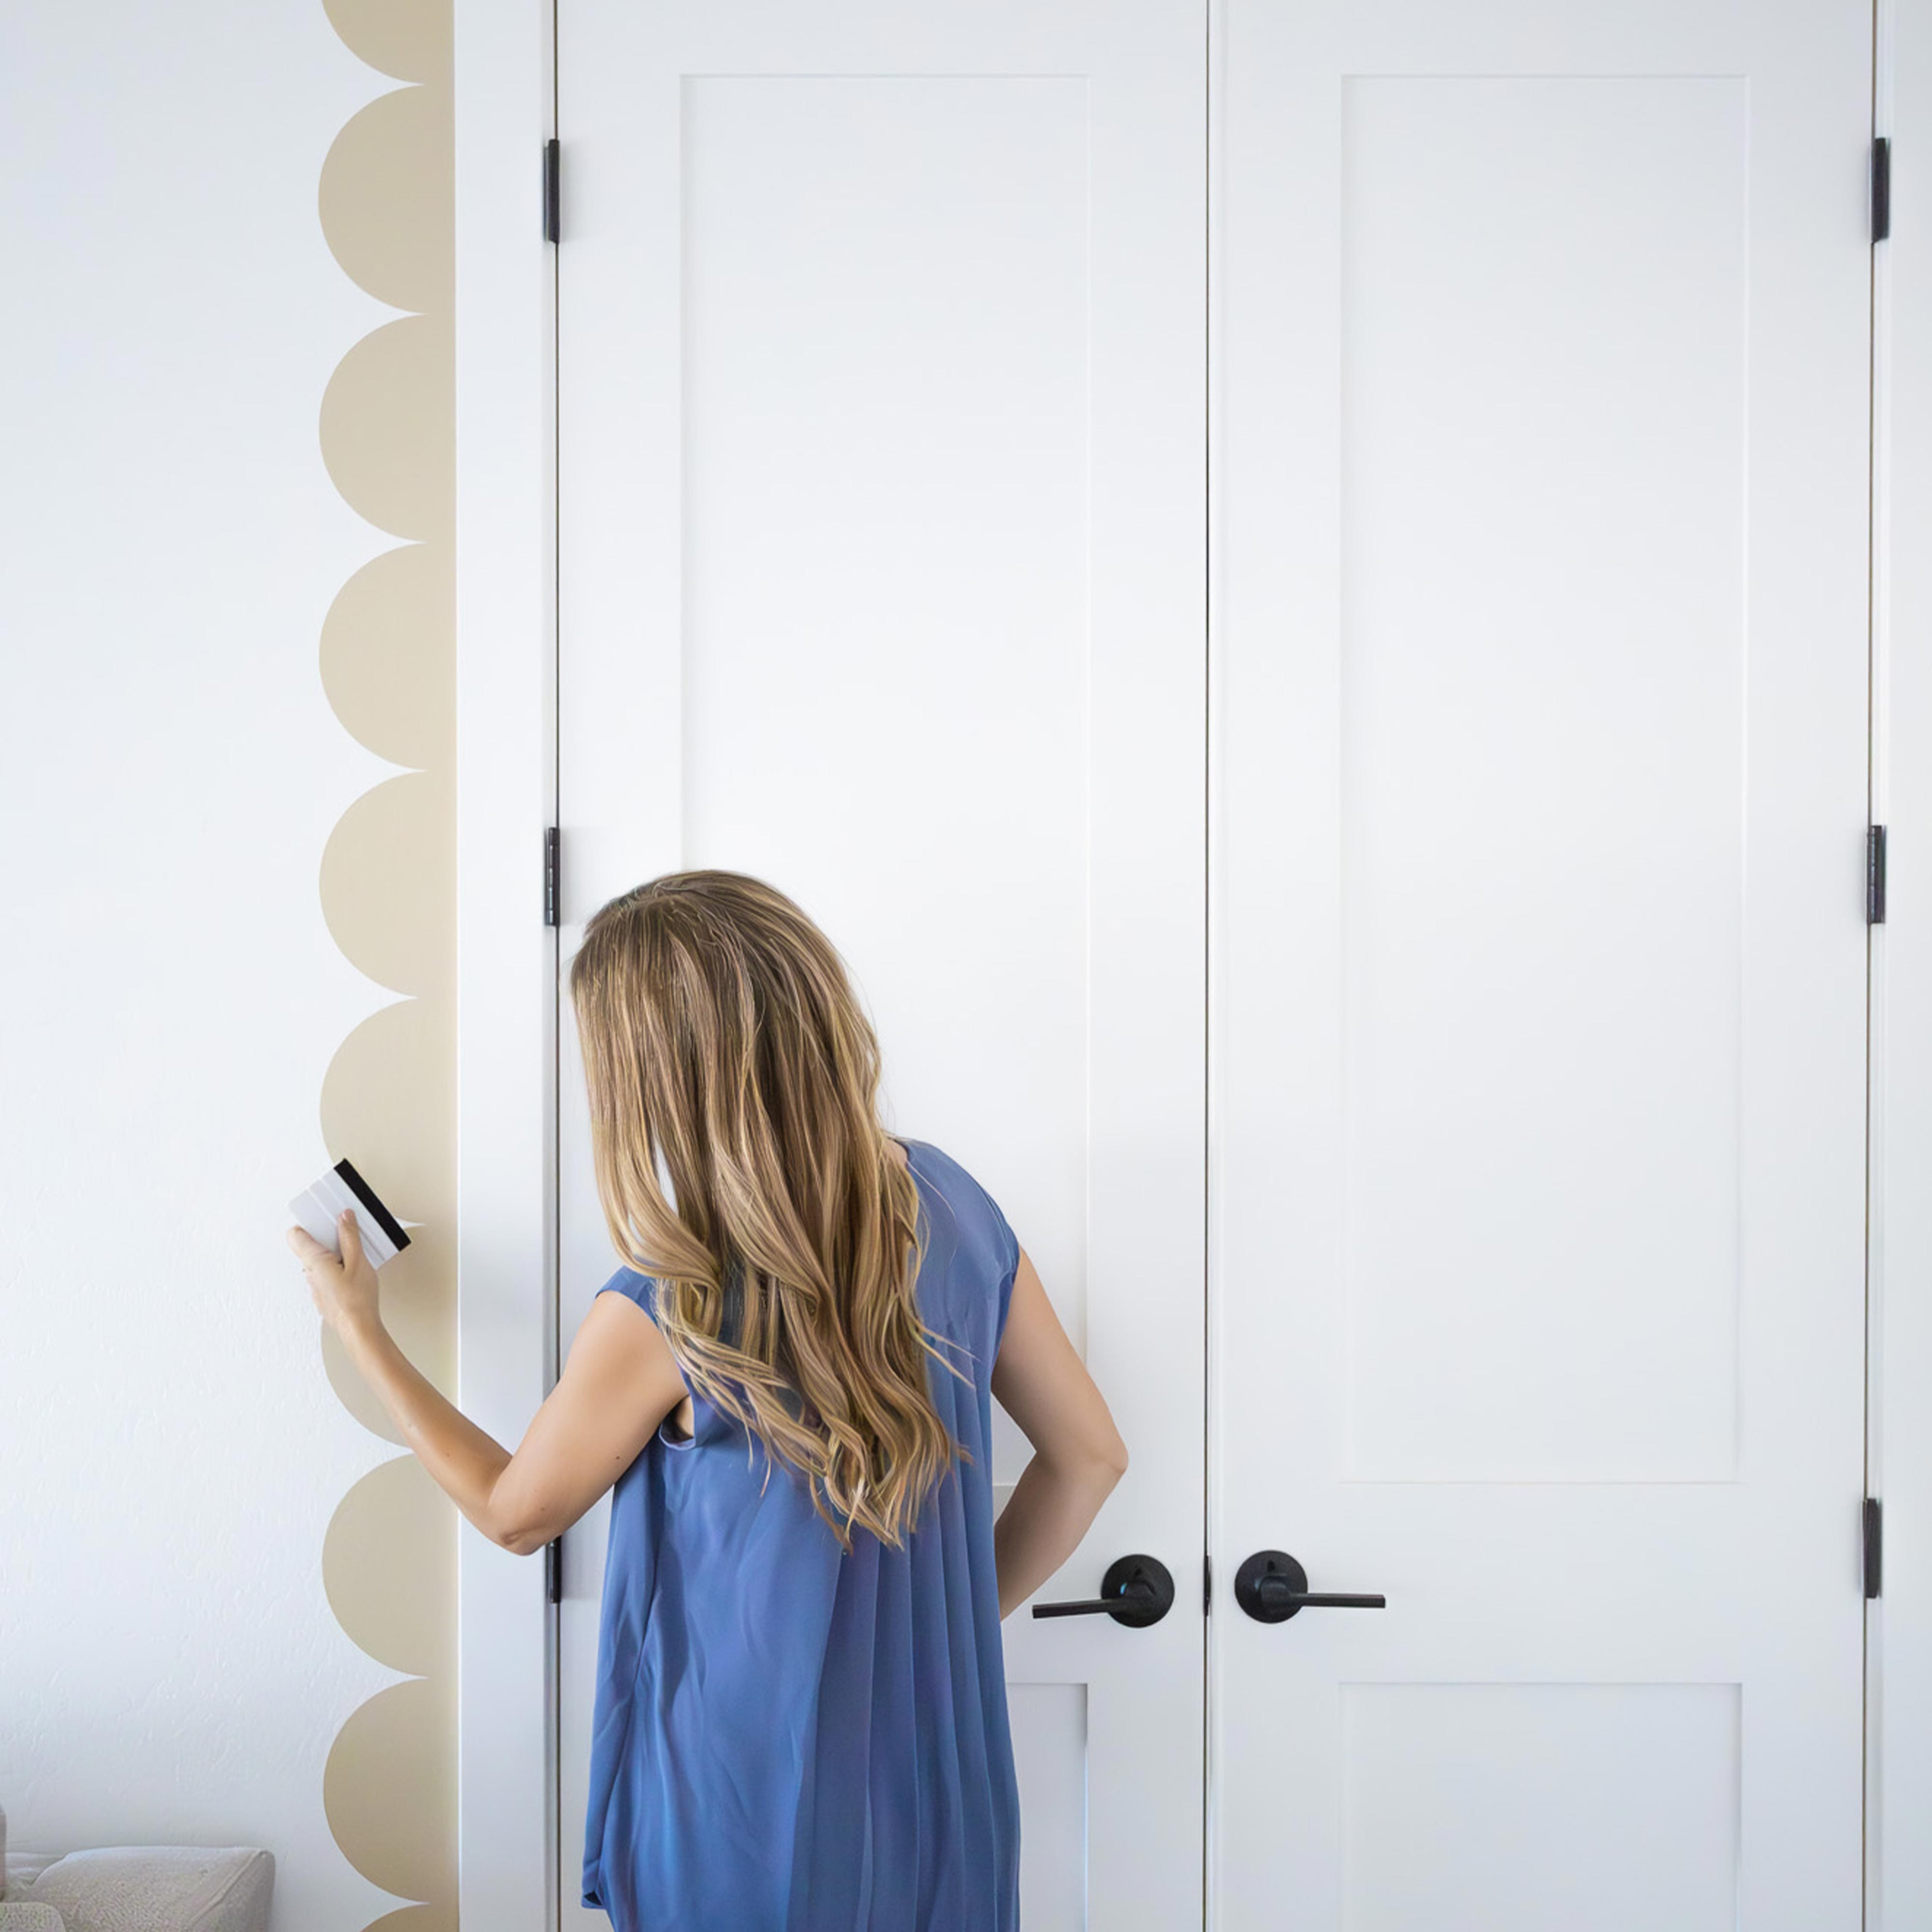
Today, we're diving into a delightful trend that's making a modern comeback: scallop border wall decals. These fun, whimsical, and playful designs are making waves, particularly in girls' rooms and nurseries. Let’s explore how scallop borders can transform your space with a fresh twist.
The Nostalgic Appeal of Scallop Borders
Remember the 80s and 90s when bordered wallpaper was the height of interior fashion? I fondly recall my childhood room, adorned with mint green striped wallpaper on the bottom half, a mint green and peach floral border, and a crisp white upper half. That classic look inspired us to reintroduce the trend in a contemporary way with our scalloped border wall decals.
Why Choose Scallop Border Decals?

Scallops are a massive trend among designers for a reason. They bring a touch of whimsy and charm to any room, making them perfect for children's spaces. But their appeal extends beyond kids' rooms; they can be creatively used in various settings to add a unique touch.
Flexible Design Options
Our scallop border decals come in 28 different colors, offering endless customization possibilities. These removable decals come in sections, allowing for versatile installation. Here are some creative ways to use them:
Framing a Door

One of our initial installations with scallop decals was around a door frame. We tested four different sizes and asked our Instagram followers for their opinions. The results were evenly split between the second smallest and the largest scallops. Consequently, we decided to offer both sizes. For this installation, we started at the left side of the moulding, arched the decals across the top, and down the right side, creating a playful frame around the door.
Above the Baseboard and Up the Corner

Another fantastic application is above the baseboard and up the corner where the two walls meet. When installed around the bottom, sides, and ceiling, it creates the illusion of a fully framed wall. This setup is ideal for a playroom or a girl's nursery, adding elegance and fun.
Installation Tips and Tricks
Installing scallop border decals is straightforward if you follow these steps. Here’s what you’ll need: scissors, a squeegee, and a touch of creativity.
Preparing the Decals
- Unpack Your Order: Take your decals out of the tube.
- Cut Around Each Section: Use scissors to cut around each scallop section. On the flat, straight side of the scallop, cut as close as possible without cutting the decal itself. This helps with placement on top of baseboards or moulding.
Applying the Decals
- Remove the Backing: With the adhesive side exposed, keep the transfer tape on.
- Place the Decal: Position the decal loosely on the wall. Step back to ensure you’re happy with the placement.
- Adhere the Decal: Press the decal to the wall. Once adhered, remove the transfer tape, leaving just the decal.

Continuing the Installation
- Repeat the Process: Install the next decal beside the last one for a seamless look.
- Finish the Edge: If you reach the end of the wall with extra decals, simply cut the excess with scissors or a box cutter.

Embrace Creativity with Scallop Borders
Scallop border decals are a fantastic way to express your creativity and design style. Each installation can be unique, sparking different design aesthetics based on their placement. Plus, they offer a clever way to use leftover decals from previous projects, giving your space a cohesive and creative touch.
Conclusion
So, grab your favourite decals, roll up your sleeves, and let’s start decorating! There’s no right or wrong way – it’s all about embracing your unique style and having fun. Happy decorating!

Doors aren't the only unique way to install your wall decal. CLICK HERE to see how we cut a large Monstera Decal to come out of the corner of a wall.


