Transforming your living space has never been easier! With wall decals, you can revamp your living room, nursery, or home office effortlessly. In this practical guide, we'll show you how to install wall decals with ease, using just five simple steps. Unlash your creativity and achieve amazing results without stress. Get ready to give your walls a fresh and personalized touch through this hassle-free DIY project!
Detailed Instructions on How to Apply a Wall Decal - YouTube (Source: www.youtube.com)

Step 1: Prepare Your Wall
Start by ensuring your wall is clean and smooth. Wipe away any dust or dirt with a mild cleaner, and address imperfections like cracks or bumps. Smooth rough areas using sandpaper and fill holes with spackling paste. Allow the wall to dry completely. Bid farewell to dirt and imperfections, creating a pristine canvas for your decals.

Step 2: Plan your Layout with Painters Tape
Create a visual layout using painter's tape. Loosely cut around each decal and use painter's tape to place the decal on your wall allowing for experimentation without permanent marks. Find the perfect balance and spacing, adjusting until it matches your vision. Step back and witness your creativity coming to life!

Step 3: Remove the Backing
Peel off the backing paper from one decal. Begin at a corner and carefully work across, avoiding tearing or stretching. Seek assistance for larger decals.

Step 4: Place Decals on the Wall
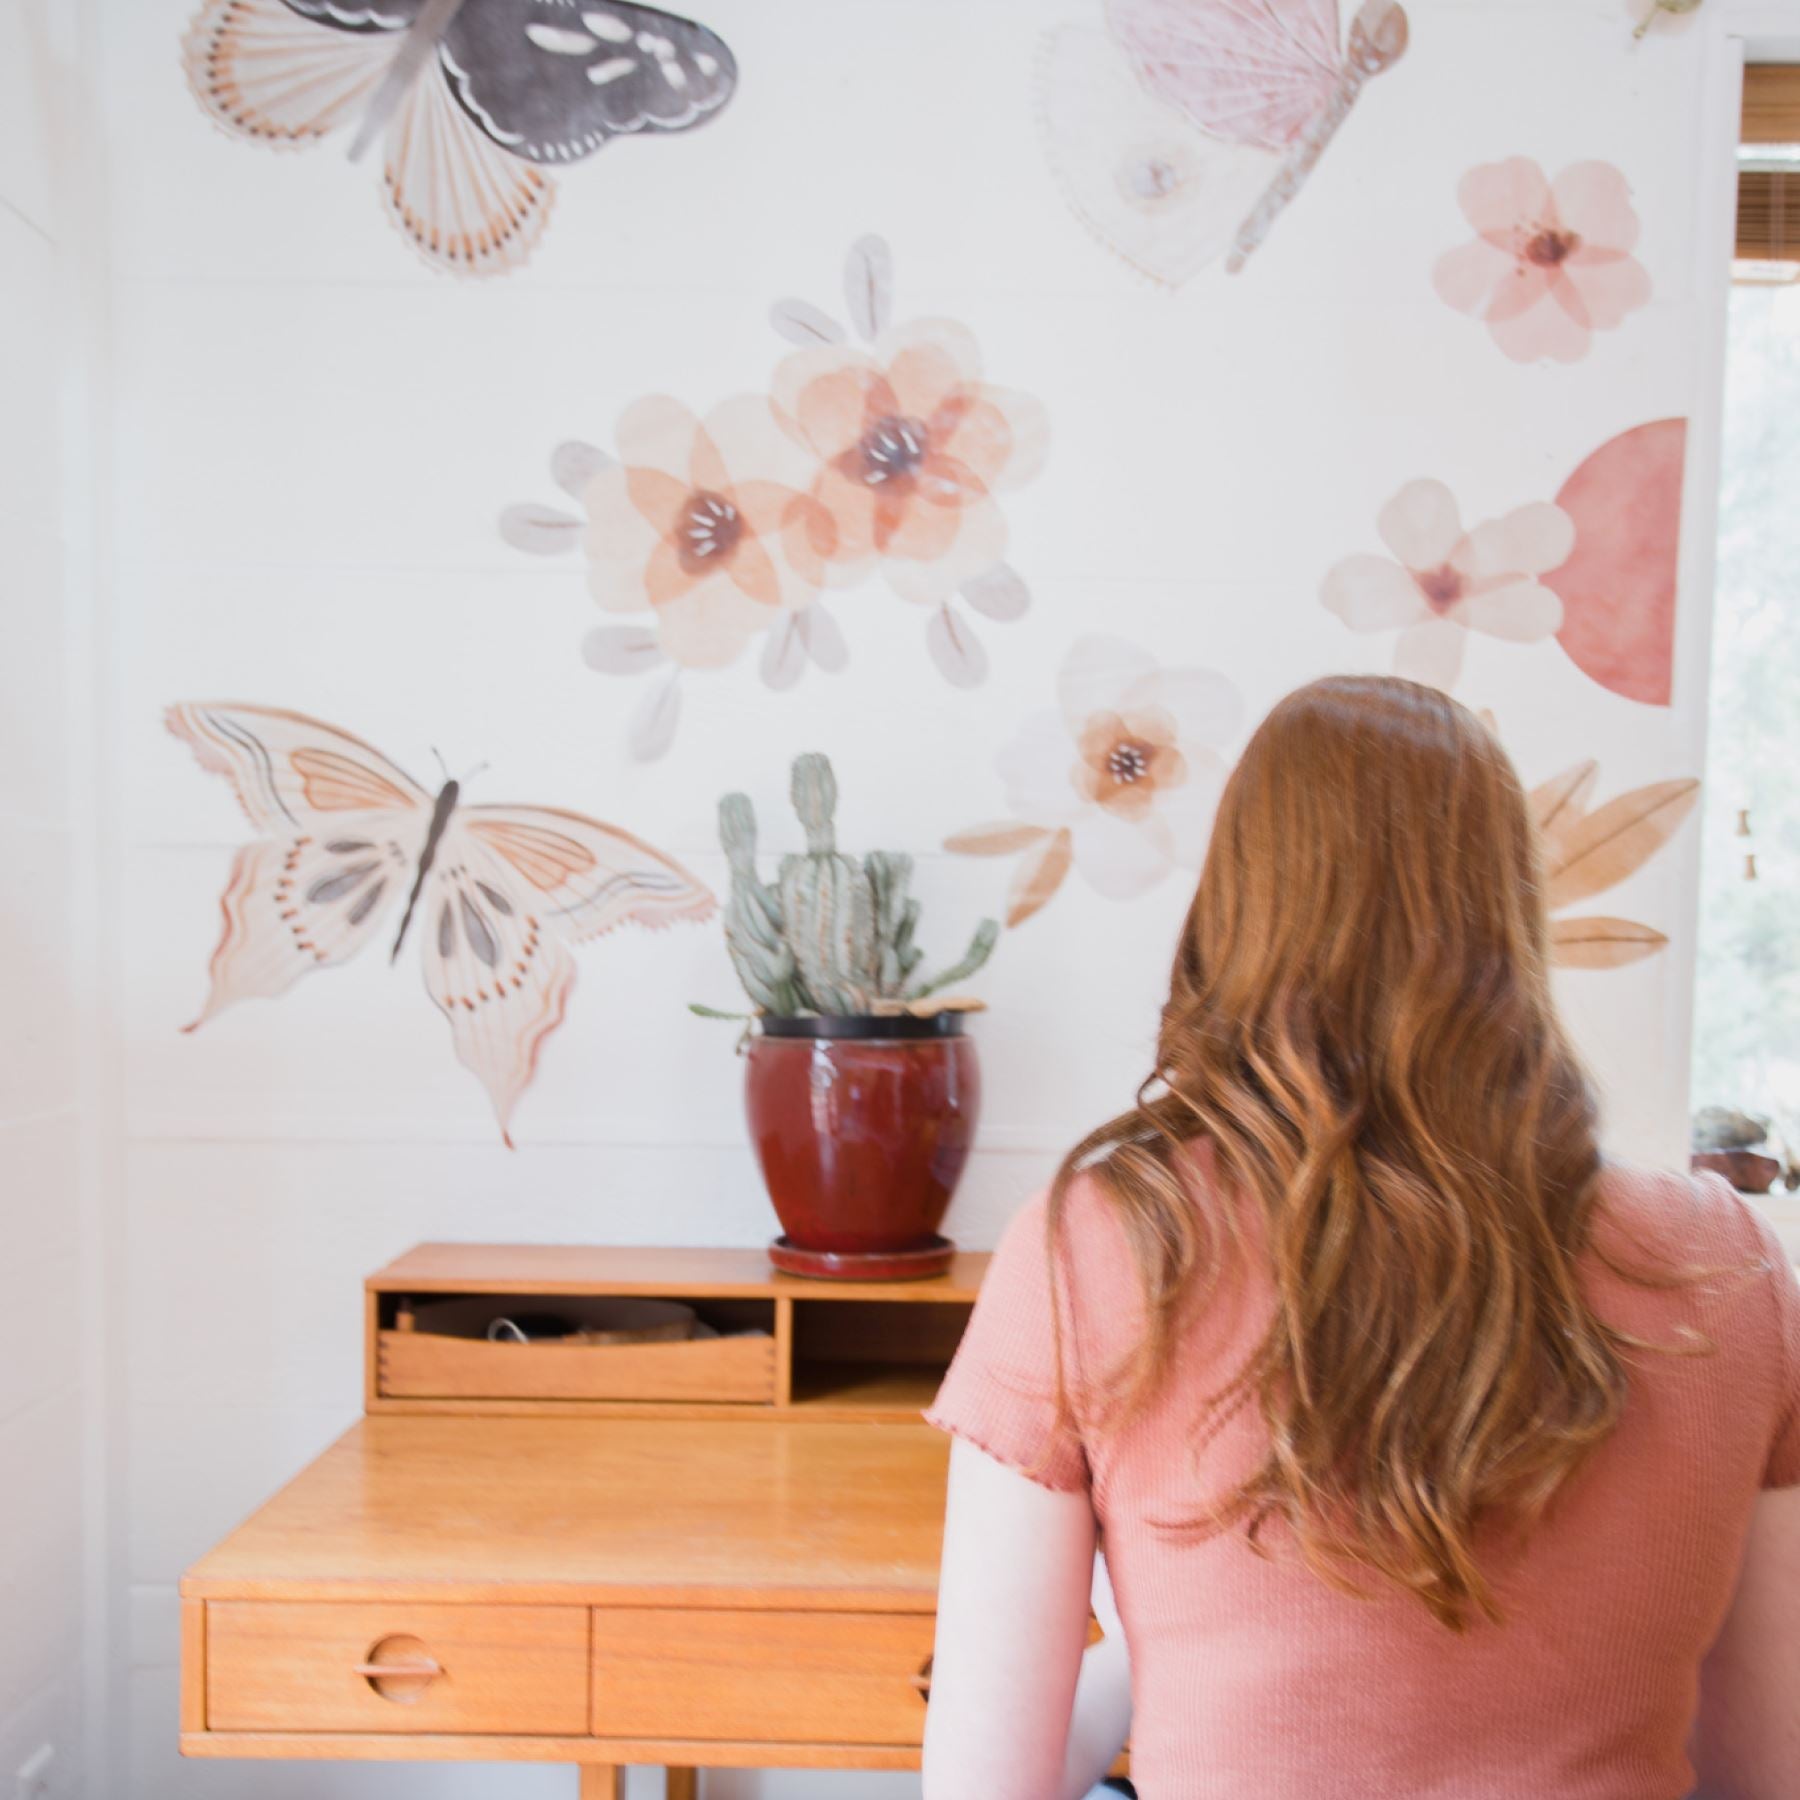
Press the decal firmly onto the wall, starting from the center and moving outward. Smooth out air bubbles or wrinkles using a credit card or flat tool. Take your time and adjust placement as needed. Ensure each decal contributes to the overall design. Step back and admire the beauty taking shape!

Step 5: Remove Transfer Tape and Admire Your Work
By far, the most exciting and rewarding part of this process. Peel off one corner of the transfer tape, pulling it back at a 180-degree angle. Ensure the decal remains on the wall and doesn't lift with the tape. Continue until all the transfer tape is removed, revealing your stunning wall decals. Stand back, take a deep breath, and revel in your DIY triumph!
Congratulations on completing your wall decal installation with ease! YOU DID IT!!! By following these five simple steps, you've given your space a fresh, personalized look without the stress. Remember to plan with painter's tape, remove the backing carefully, place the decals precisely, and reveal your work by removing the transfer tape. Enjoy the satisfaction of your DIY design accomplishment and relish the transformed ambiance of your living space. Get ready to impress with your creativity and style! You finally have a space you can be proud to show off to your friends and family!


