Wondering how to space your wall decals for a clean, balanced look? Whether you’re decorating a nursery, playroom, hallway, or home office, finding the right spacing can take your wall from “meh” to masterpiece. The best part? With removable wall decals, you’ve got creative freedom.
Let’s walk through how to space your decals based on your wall size, the number of decals in your pack, your budget, and the overall look you’re going for.

There’s No One-Size-Fits-All Formula—But Here’s a Good Starting Point
The short answer? Spacing your decals comes down to your preferences and how full or minimal you want your wall to feel. But if you’re looking for a jumping-off point, we recommend starting with 8 to 12 inches between each decal, both horizontally and vertically.
That spacing typically gives you a balanced layout without feeling overcrowded. Of course, larger decals like florals or abstract shapes might look best with wider gaps, while small pattern decals like stars, triangles, or dots can handle a more condensed layout.

Tools You’ll Want for Easy, Even Spacing
-
A pencil (for marking guides)
-
A level (to keep lines straight)
-
A ruler or measuring tape
-
A piece of cardstock to use as a spacing template
-
Painter’s tape (to test layouts before sticking)

Want to wing it? That works too! Some of our best installations come from a little “eyeballing it” and trusting your design instincts.
Budget + Style = Spacing Strategy
Let’s say you’ve ordered a pack of 50 triangle decals, and your wall is 11 feet wide by 9 feet tall. If you want a mural-style look with alternating rows, here’s how to plan it out:
1. Convert feet to inches:
-
11 ft = 132 inches
-
9 ft = 108 inches
2. Plan your rows:
-
With 50 decals, you could do 5 rows of 10 triangles.
-
Divide 132" by 10 = approx. 13.2" apart horizontally
-
Divide 108" by 5 = approx. 21.6" apart vertically
3. Alternate your rows:
-
Stagger every other row so the triangles fall between the ones above—this creates that mural-style, tiled look.

Want a more minimal vibe or working with a tight budget? Space the decals farther apart! Want a dense, wallpaper-like finish? Order an extra pack and reduce spacing to 5–6 inches apart.
Pattern Decals vs. Larger Statement Pieces
Pattern decals like our Irregular Dots or Mini Stars are super flexible—you can use one pack for a scattered look or stack up 3–5 packs for a full-wall, wallpaper-style impact. There’s no wrong way to go!
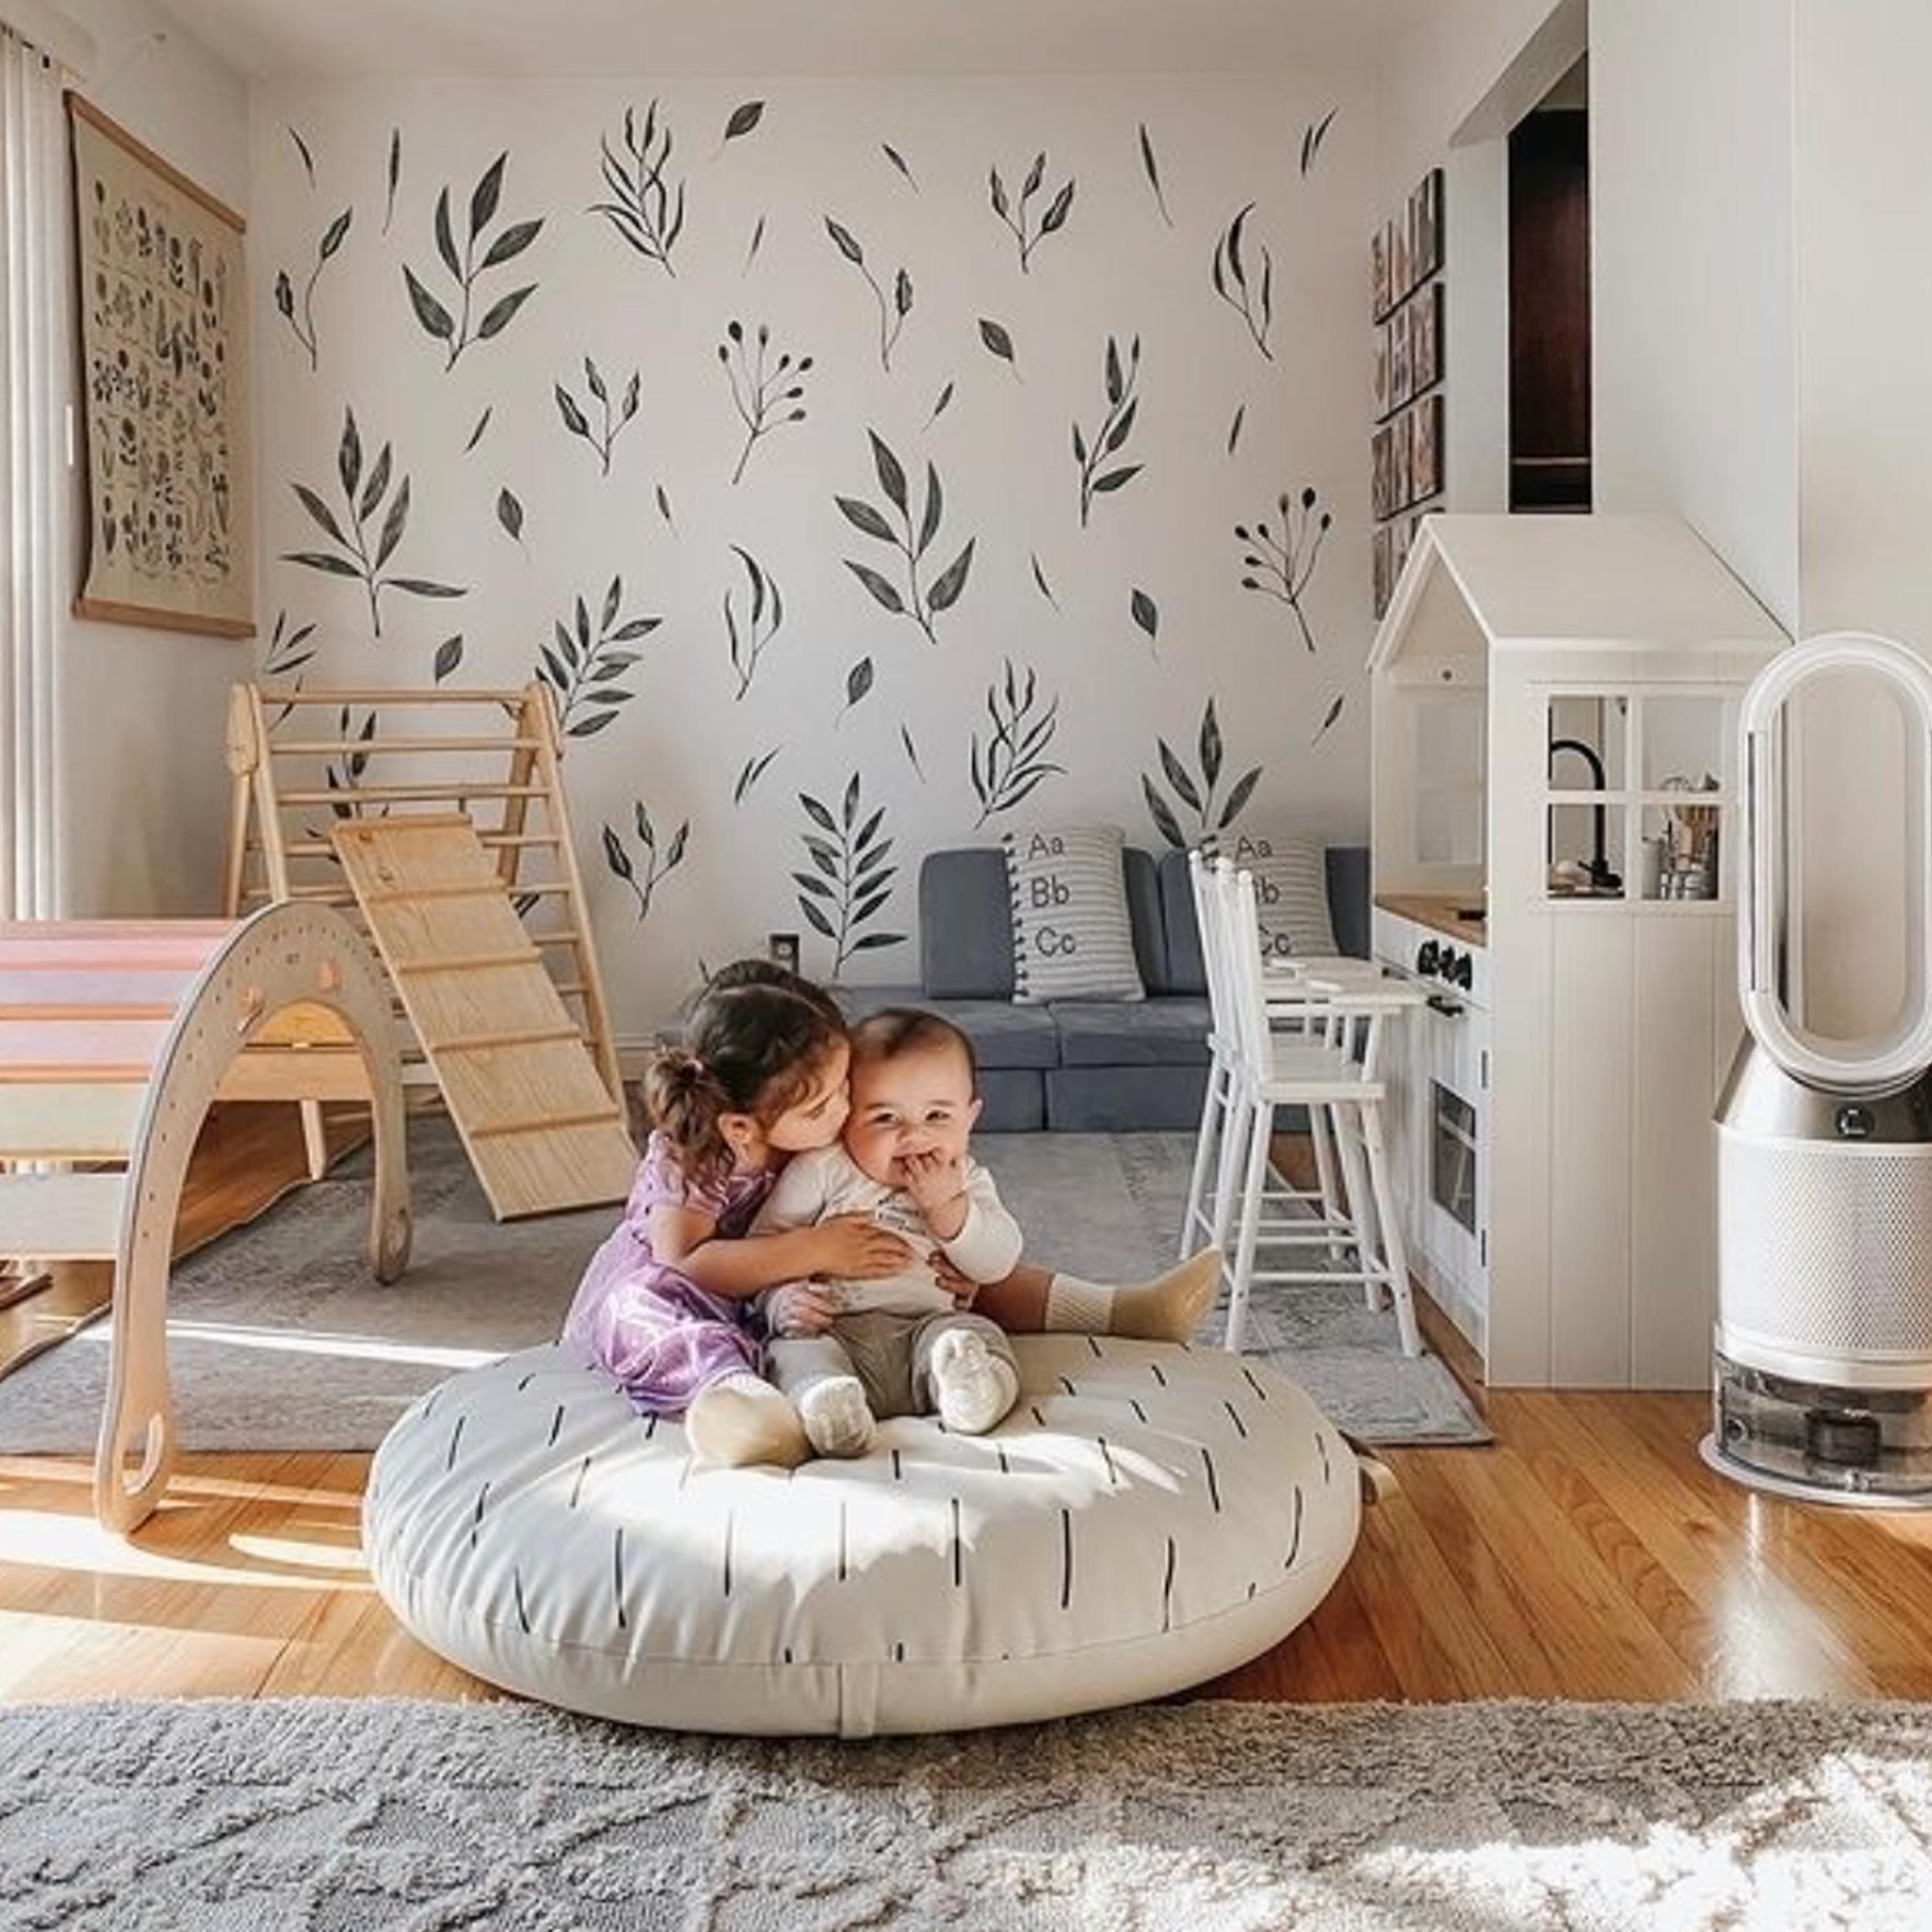
Larger decals like florals or painterly leaves offer a totally different look. Try clustering them together into a bouquet effect, framing a crib or bed, or placing them around a mirror or dresser. A good tip: avoid placing decals behind furniture that hides the design—save those for visible spots where they can shine.

Pro Tips for Flawless Results
-
Lay everything out first with painter’s tape before committing.
-
Skip hidden spots behind tall furniture.
-
Step back after each row to see the whole picture.
-
Don’t stress—our decals are removable and repositionable!

Why Spacing Wall Decals Matters
The right spacing is what turns decals from stickers into wall art. Whether you want a playful polka-dot effect or a symmetrical grid layout, your spacing helps create flow and consistency.
Feeling overwhelmed? You’re not alone! That’s why we’re here to walk you through it.
Final Thoughts
When it comes to installing wall decals, the beauty is in the flexibility. With a little planning, a few tools, and some creativity, you can get a professional-looking finish that fits your style and your space—whether you want a full gallery wall or a light scattering of shapes.


