Looking for a simple yet impactful way to revamp your space? Your bookshelf might be the perfect canvas for your next DIY project! In this guide, we're going to show you how we transformed an arched bookshelf using removable wallpaper. Whether you're a seasoned DIY enthusiast or just starting, this project is not only easy but also a fantastic way to bring new life to your room.
Why Consider Wallpaper for Your Bookshelf?

Before we dive into the how-to, let's talk about why adding wallpaper to your bookshelf is a game-changer. Bookshelves are often overlooked as a design element, but they can become a stunning focal point in your room with the right touches. Wallpapering the back of your shelves introduces texture, color, and a custom feel that paint alone can’t achieve. It’s a fantastic way to infuse personality into your space and make your bookshelf stand out.
The Perfect Choice: Textured Wallpaper Panels
For this project, we opted for removable textured wallpaper panels. These panels have a gorgeous canvas-like finish that adds a rich, tactile dimension to the bookshelf. The beauty of using a textured substrate is that it not only looks luxurious but is also user-friendly, making it perfect for any DIY project.

What You’ll Need
Here’s a quick checklist of materials and tools:
- Removable textured wallpaper panels (pick a pattern that complements your room)
- Measuring tape (to get accurate dimensions of each shelf)
- Utility knife or box cutter (for precise cutting)
- Squeegee (to eliminate bubbles and ensure a smooth application)
- Pencil (for marking measurements)
- Painter’s tape (optional, to help hold panels temporarily in place)
Step 1: Measure Your Space
Start by measuring the height and width of each shelf. Accurate measurements are crucial for a seamless look, especially in an arched bookshelf. Write down your measurements to ensure you cut your wallpaper panels correctly. Our bookshelf required two panels side by side, which made it easy to achieve a seamless finish.
Step 2: Cut the Wallpaper Panels

Once you have your measurements, it’s time to cut your wallpaper panels. Lay out your panels and cut them to size using your utility knife. If your wallpaper has a pattern, be sure to align it correctly so that it flows smoothly from one panel to the next. This attention to detail will give your bookshelf a polished, professional look.
Step 3: Apply the Wallpaper
Peel off the backing of your first wallpaper panel and carefully position it on the shelf. Start by aligning the panel with the top edge of the shelf and work your way down. If you’re using painter’s tape, you can temporarily tape the panel in place before pressing it down fully. This step ensures that everything is perfectly aligned before you commit to the placement.
Step 4: Smooth Out Any Bubbles
As you apply the wallpaper, use your squeegee to smooth out any air bubbles that might form. Begin in the center of the panel and push outward toward the edges to ensure a flat, even application. If any stubborn bubbles persist, gently lift the panel and reapply, smoothing it out as you go.
Step 5: Trim the Excess

After your wallpaper is securely in place, use your utility knife to trim away any excess material around the edges. This step is where precision really pays off—go slowly and carefully to ensure a clean, sharp finish. With all the excess trimmed away, your bookshelf will have a sleek, tailored look.
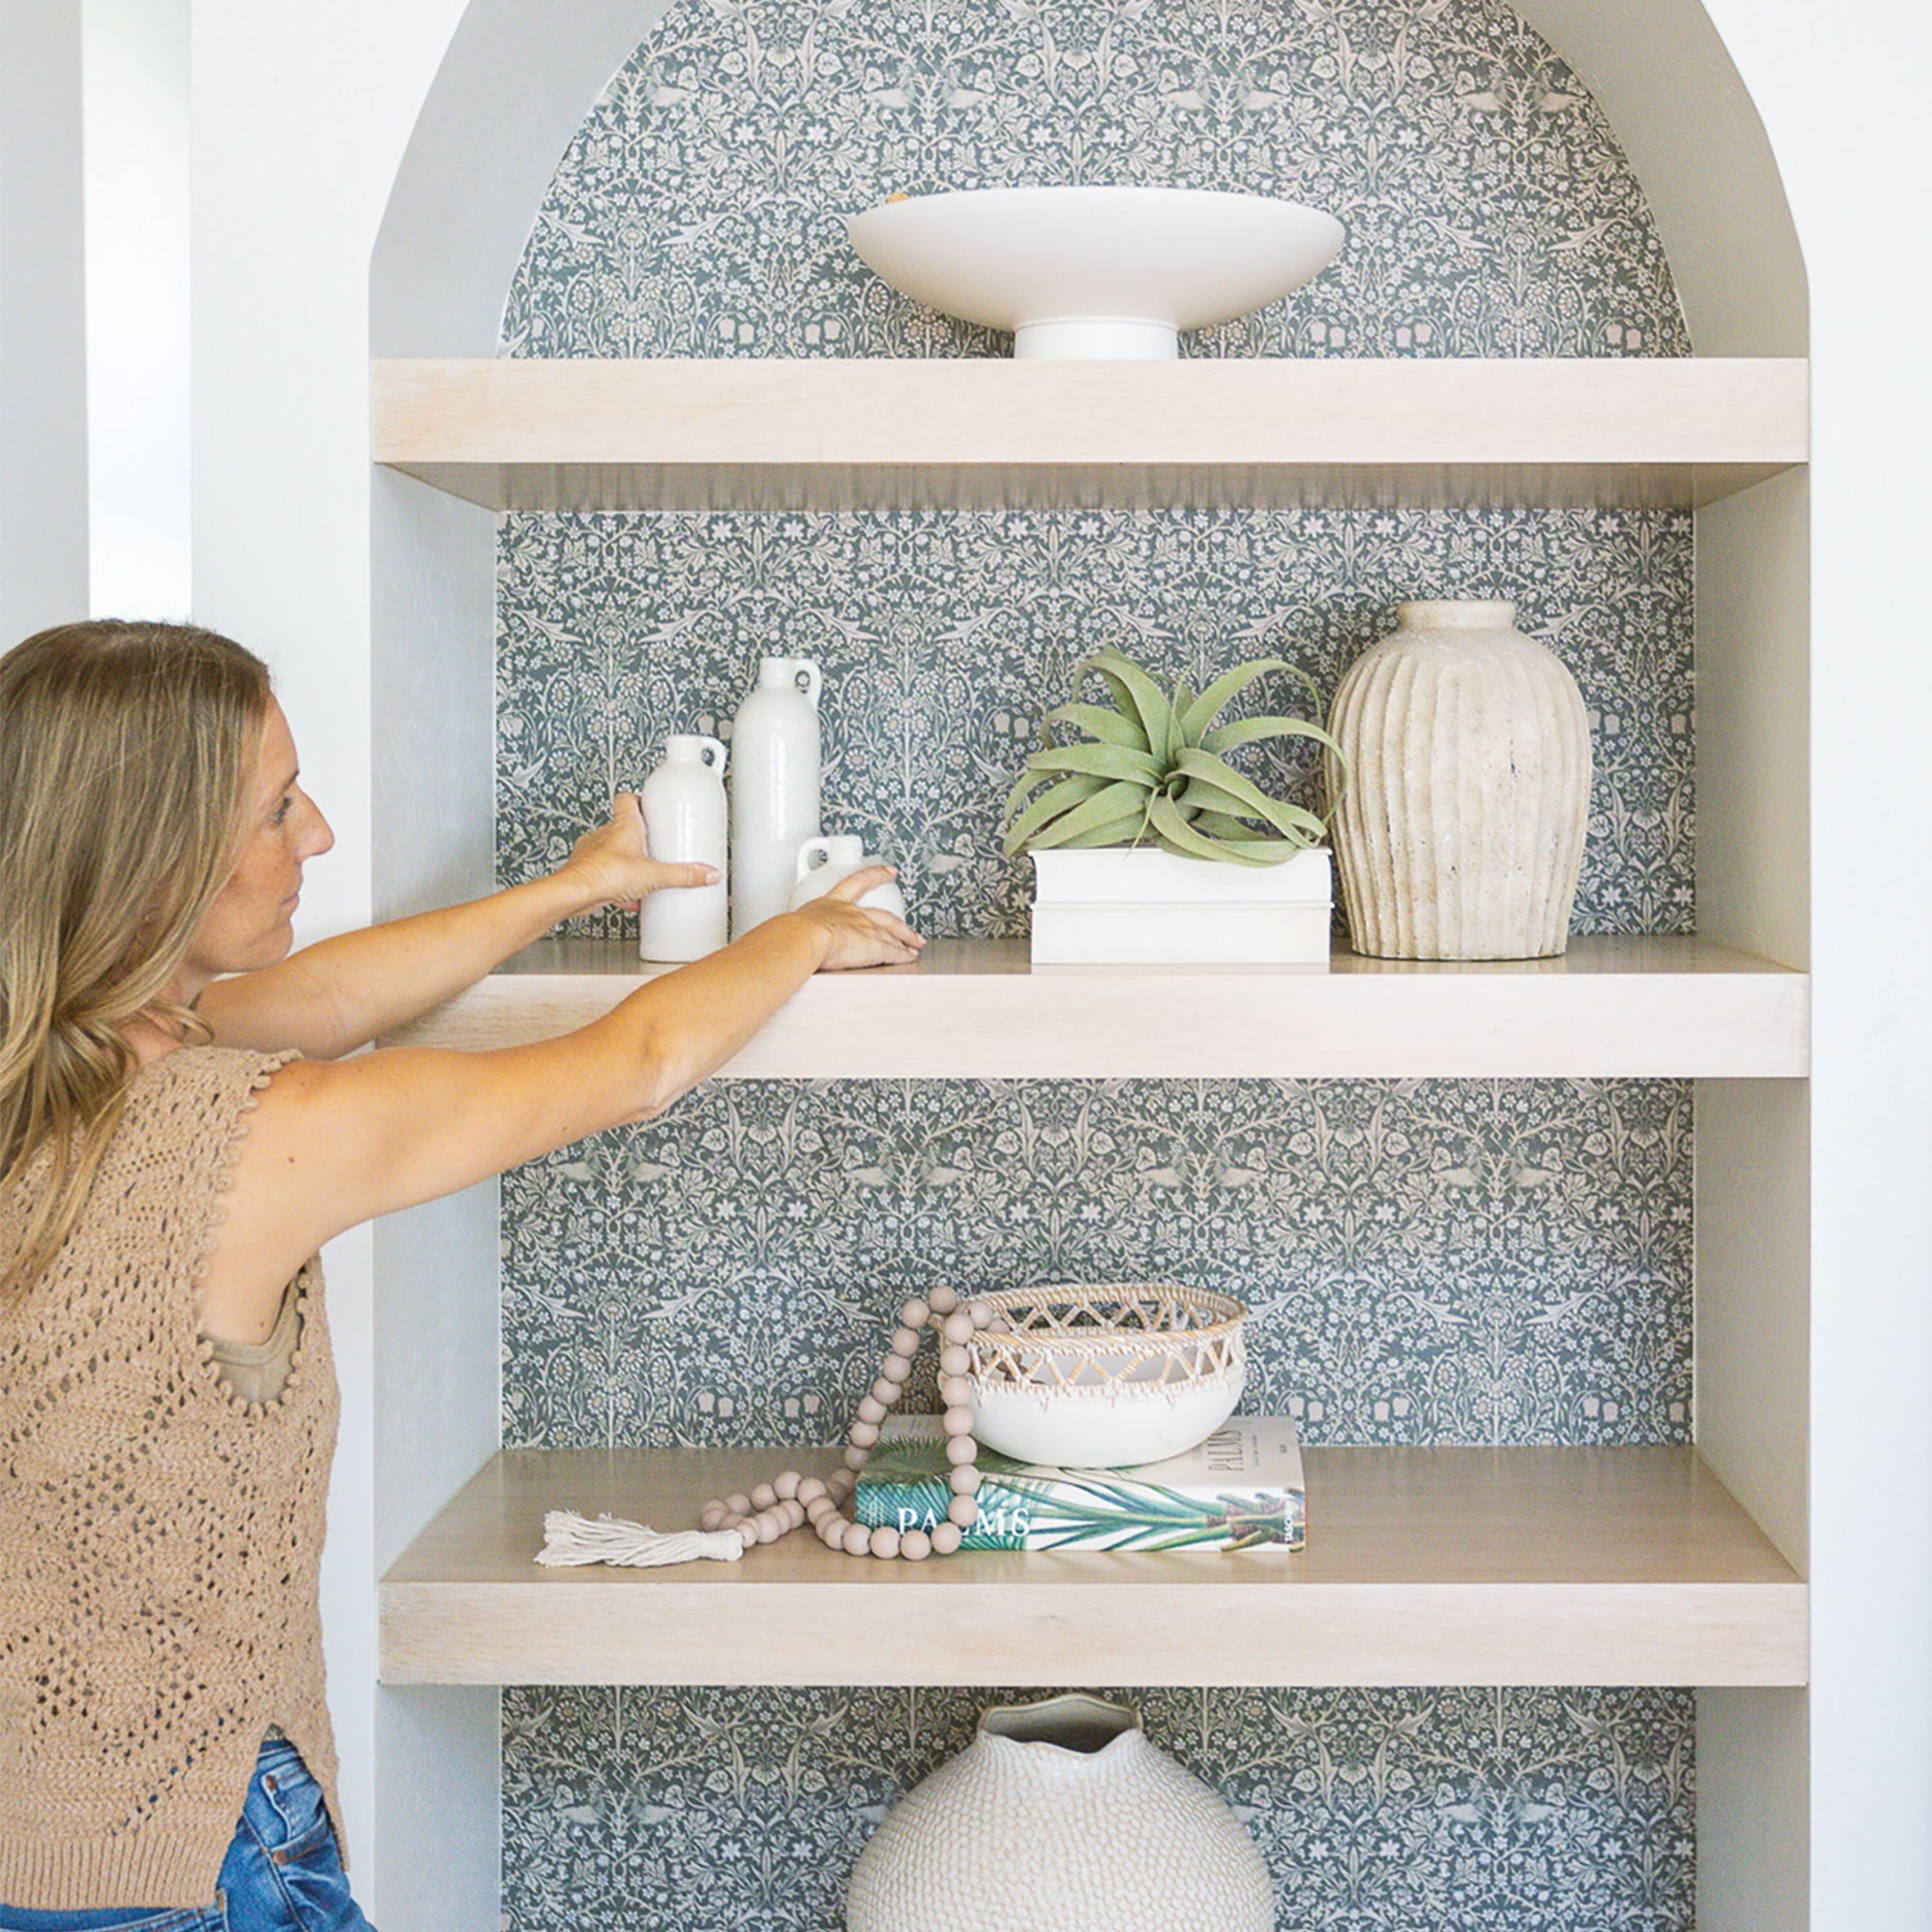
Step 6: Style Your Shelves
Now that your wallpaper is up, it’s time to style your shelves. Whether you’re displaying books, decorative objects, or a mix of both, the wallpaper backdrop will make everything pop. We put back all our decor pieces, and the transformation was instantly noticeable. The wallpaper added depth and character, giving the bookshelf a custom, high-end look.
CLICK HERE and see for yourself how simple it is to install our peel-and-stick wallpaper. Transform your space in just minutes!

The Beauty of Removable Wallpaper
One of the best parts of this project is that the wallpaper is completely removable. If you ever want to switch things up—whether it's a seasonal change or just a new design direction—you can easily peel off the wallpaper and start fresh. It’s the perfect low-commitment, high-reward project for anyone who loves to refresh their space regularly.
Final Thoughts: A Quick and Impactful DIY
Transforming your arched bookshelf with removable wallpaper is a quick and impactful way to update your space. It’s an easy DIY project that brings texture, color, and a custom feel to any room. And the best part? You can change it up whenever you want without worrying about damage or commitment.

Ready to refresh your bookshelf? Browse our selection of removable textured wallpaper panels and discover the perfect design for your home. Your next DIY project is just a click away!


