
Don’t you love it when things are easy? Life can be tough enough without adding more challenges into the mix. We know you’re already juggling work, kids, school pick-ups, classes, late meetings, sporting events, cleaning the house, trying to have a social life, packing lunches, meal prepping, grocery shopping, attempting to work out… whew! That’s enough stress to be getting on with, don’t you think? The last thing you need is to sweat home design on top of everything else.
We thought so, too. Which is why at Urbanwalls, we design easy to apply and easy to remove wall decals. As a company, our goal is to create wall décor and interior design solutions that make your life easier, not more complicated. After all, we believe you should be able to redesign your home, mixing up the mood, as easily and as often as your heart desires!
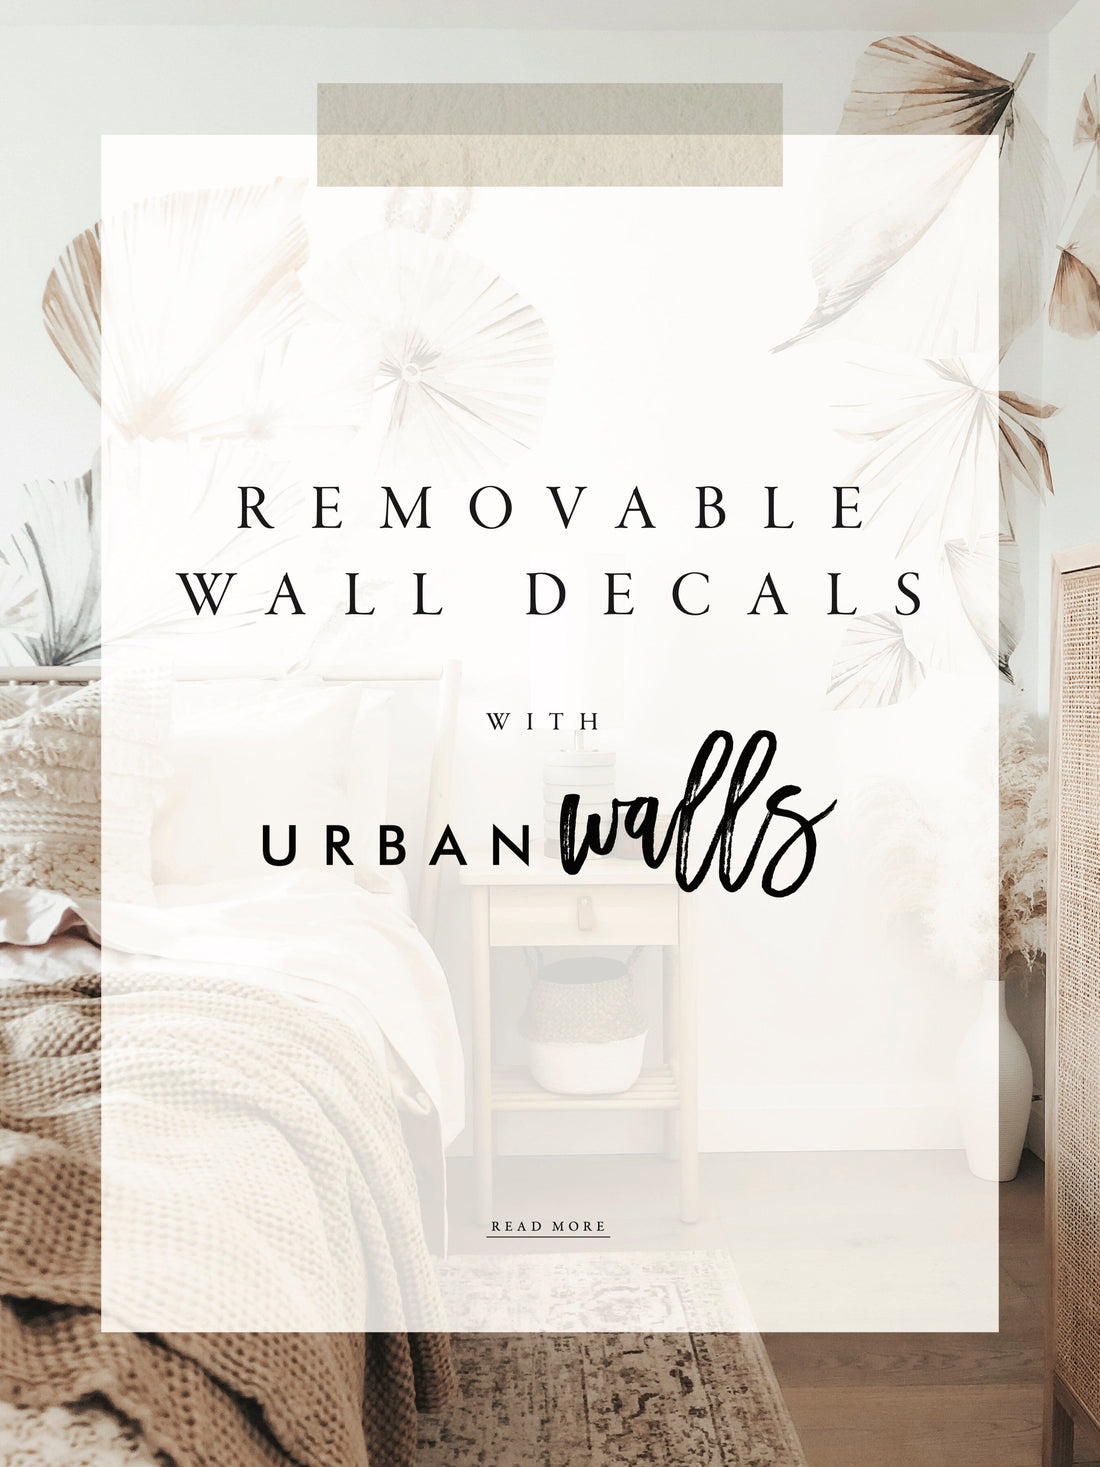
So, let’s talk about one of our most popular products: our removable wall decals.

About Vinyl Wall Decals
Our wall decals are crafted from a special, non-toxic, vinyl material, specifically designed for safe, indoor use. We understand every material you put into your home is important, so we’ve taken special care to ensure our products are safe for your family and your home. Urbanwalls vinyl wall decals are:
- Non-toxic
- Safe for kids and pets
- Specially designed for indoor use
- Easy to install
- Simple to remove with no damage
Easy to Install
If you’re familiar with Urbanwalls, there’s a good chance you already know how easy our vinyl wall decals are to install. You can space and place them anywhere there’s a smooth, flat surface—which means you can apply them on walls, cabinets, dressers, laptops, and in those tricky areas where wallpaper just isn’t an option. Because the wall decals are freestanding, the ways you can arrange them are limitless, making it easy to achieve a truly original design completely unique to your home.
Easy to Remove
But if you’re new around here, have never purchased our products, or have never swapped out an old Urbanwalls design for a new one—meaning your original decals are still proudly hanging on your walls—then, you may not be aware that our wall decals are also detachable and super easy to remove.
One of the most incredible features about our removable wall decals is the fact that they won’t damage your walls when you detach them! Seriously, as long as your walls were painted and left to properly cure a month before application, your paint won’t chip or peel! Not to mention, there won’t be any leftover messy, sticky residue. So, whether you’re worried about ruining your paint, you love to redecorate and mix it up, or you’re a renter in an apartment or a dorm room and have to leave the walls the way you found them, our decals may be the perfect design solution for you.
Types of Decals
From designs for bedrooms, kitchens, kids’ rooms, nurseries, classrooms, playrooms, living room, offices, dining rooms, entryways, mud rooms, and so much more, our wall decals range in variety and size. Whether you’re looking for adorable decals for kids, tiny decals for a cute accent, or larger-than-life, show-stopping designs, there’s something for every taste, every aesthetic, and every budget.
At Urbanwalls, we offer two types of wall decals, though they are both created from the same easy-to-remove, vinyl material. The difference is in the transfer tape!
What is transfer tape? It’s a protective, semi- transparent covering over the front design of the decal. And while it can help decals from being damaged in storage or the mail, its chief purpose is to aid in the installation of larger decals by helping them keep their shape until they are safely on the wall. If you find your decal doesn’t have transfer tape, don’t worry! Smaller-sized decals do not need transfer tape and install easily without it. Transfer tape can be easily removed in strips after installation.
Traditional Decals
Our “traditional” decal designs come with an adhesive backing and the protective, transparent transfer tape. These wall decals are typically slightly larger in size, but are still freestanding and easy to remove.

Peel-and-Stick Decals
Many of our smaller decals are considered to be “peel-and-stick”. These little beauties arrive without transfer tape, allowing you to simply peel…and stick directly to your walls! Thick of it as a giant sticker sheet. See, and you thought kids got to have all the fun.

How to Remove Wall Decals
Removing your vinyl wall decals may seem daunting, but it’s even easier than it was to install them in the first place! We know, we know—you’re thinking, “But that was super easy! How can removing the decals be even easier?”
Following this helpful little step-by-step guide, remove your decals and prep your walls for a new look in no time!
- Use a hair dryer.
It sounds a little crazy, but aim a hairdryer a few inches from the edge of your decal. The warm heat will loosen the adhesive backing, so peeling the decal away from the wall easy. We recommend starting at one spot, heating and peeling as you go, instead of heating up the entire design before beginning the peeling process.
- Start at the corner and peel.
If at first you have trouble getting your decal to peel up and away from the wall, use a butter knife (or something with an edge that isn’t too sharp) that you can slide under the decal. This will help loosen the edge so you can grip enough of the vinyl in order to pull. If you’re trying to remove a wallpaper or mural design, these steps are the same, but you’d have to start removal from right to left, taking off one panel at a time with the hair drying, slowly moving from top to bottom.
- Peel slowly.
Continue to aim the hair dryer at the next section of the decal as you slowly peel, allowing the warm air to loosen the adhesive as you go. Remember, pulling at a 45-degree angle is much easier than pulling the decal straight down.
- Repeat the steps.
Repeat steps one through three until your walls are clear. Since our decals are removable and not reusable, feel free to tear the decals into small sections as you work. It can sometimes make the process easier if you remove the excess vinyl from your work area as you go. Though our decals are generally not reusable, some customers have had luck sticking them on new surfaces as long as the adhesive back is still sticking and the decal hasn’t been stretched during the removal process.

Would you like to see the removal process in action? We’ve created a tutorial so you can see how simple removing our decals truly is—no mess, no hassle. Just a new, clean blank canvas waiting for you and your next design vision!
Click here to see our Decal Removal Video!
Commonly Ask Questions
Will removing a decal damage my wall?
Removing a decal should never damage your wall or surface! These vinyl decal stickers were made specifically for walls and smooth surfaces, created with special adhesive that won’t leave mess or sticky residue behind.
Will removing a decal remove paint from my wall?
If you’ve recently painted your wall, we recommend letting your wall cure for about a month before applying any decals to the new paint. If the freshly painted wall has not been given the proper amount of time to dry and cure before decal application, it is possible that when the decal is removed, paint could peel from the walls alongside the decal. But, if you let your walls cure after painting before decal application, there should be no issue and your walls should stay perfectly pristine!
Am I able to reapply the decal after removal?
Typically, you can’t reapply a wall decal after removal. This is not necessarily because the decal loses its adhesive properties, but because decals often stretch during the removal process. However, we have had customers in the past who have had luck with reapplying their decals after removal! It all depends on the size of your decals (bigger ones tend to warp a bit more) and how carefully you remove them!
Are wall decals easy to remove?
They sure are! Following the four steps covered above (1. Use a hairdryer; 2. Start at the corner and peel; 3. Peel Slowly; 4. Repeat the steps) you can quickly remove any decal design from your walls. We’ve worked to create easy removal and easy application for each of our products!
So, there you have it! Following these easy steps for decal removal, you’ll be looking at a clean, undamaged wall, ready for new decals in absolutely no time at all. Now, for the toughest part: choosing your next decal design!
Feel free to send any feedback photos to us by tagging Urbanwalls in Instagram at @urbanwalls or joining our Urbanwalls VIP Facebook groups. We can’t wait to see what you create!